
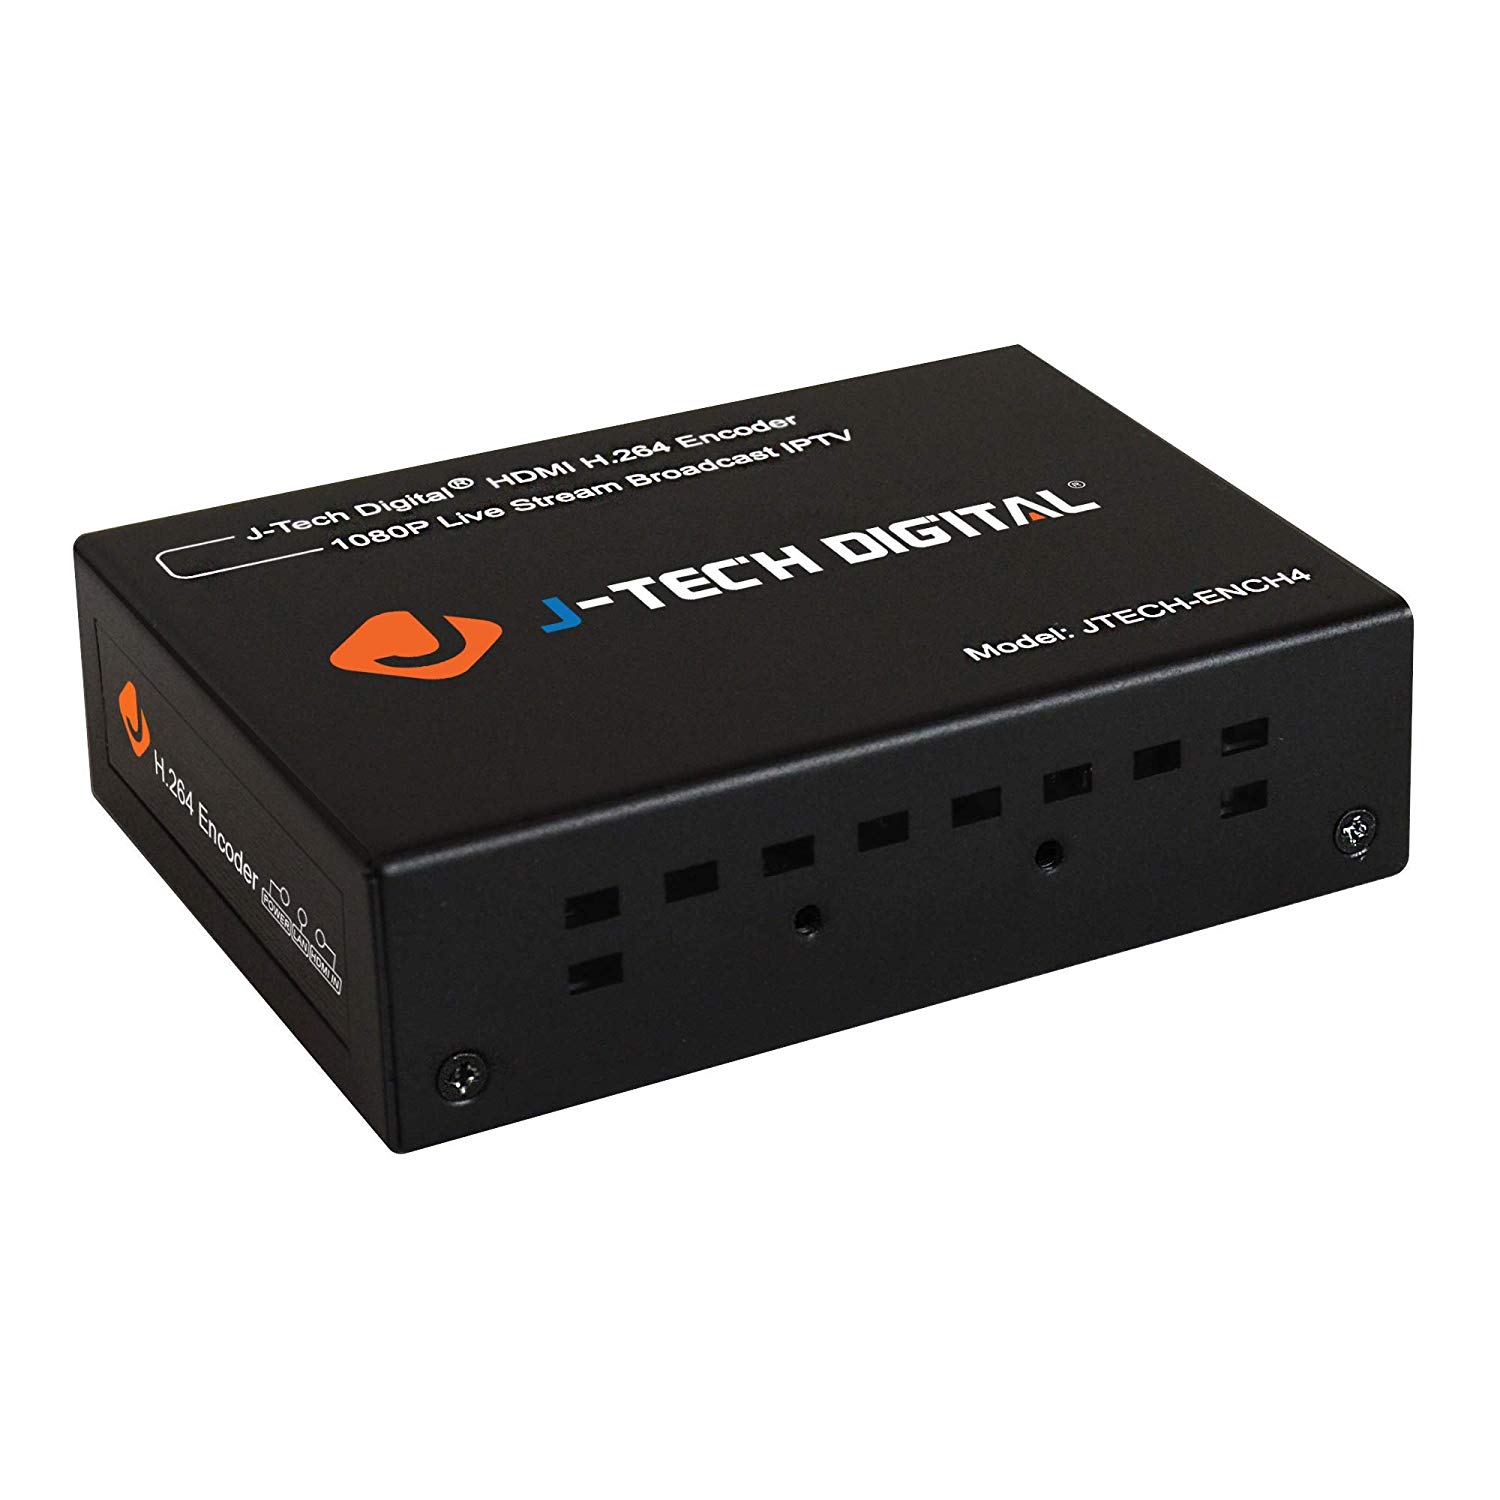
J-Tech Digital JTECH-ENCH4
JTD-ID: JTD-220
How to change the "No Signal" default image
STEP 1:
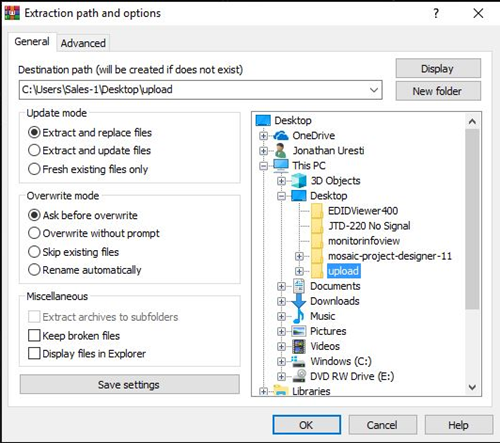
Extract the “upload.rar” file to the local drive on your PC, desktop preferred.
Note: Do not use an external or networked drive.
STEP 2:
Create a BMP file that has a resolution of 1280x720 with a recommended bit depth of 24-bits and name the file “nosig.bmp”.

STEP 3:
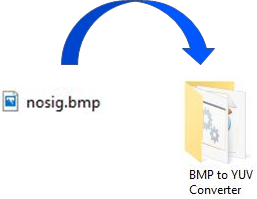
Move your “nosig.bmp” file to the “BMP to YUV Converter” folder.
STEP 4:
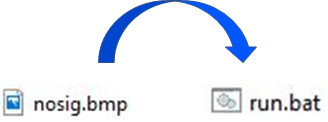
Click and drag the “nosig.bmp” to the “run.bat” batch file and this will create a file called “nosig.yuv”.
Note before continuing, there are two different update archives that you can choose from: “Disable Telnet” and “Enable Telnet”. You may choose the option that fits your application.
STEP 5:
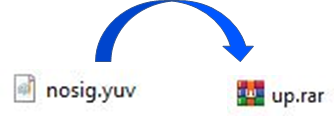
Click and drag the newly created “nosig.yuv” file into the “up.rar” archive.
STEP 6:
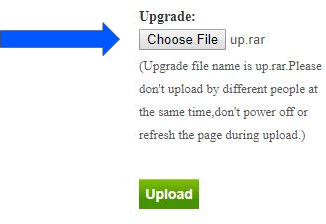
Open a web browser to log into the JTECH-ENCH4. Then navigate to the “System” tab and then the “Upgrade” section. Select the “Choose File” button.
STEP 7:
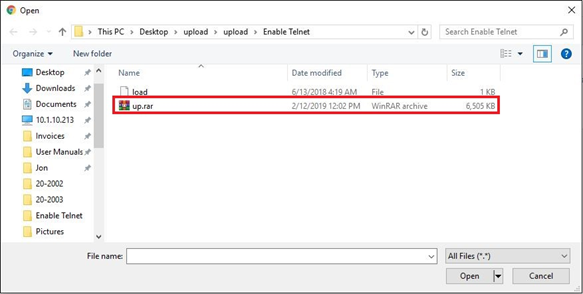
Select the “up.rar” archive that you uploaded the “nosig.yuv” file to.
STEP 8:
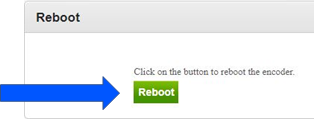
Navigate to the “System” tab and then the “Reboot” section. Select the “Reboot” button.
J-Tech Digital Support Team
1-888-610-2818
support@jtechdigital.com
Comments
0 comments
Please sign in to leave a comment.