
If you have connected your 8x8 Matrix to an existing network, but forgot the password, you will not be able to connect to the unit again until you reset/remember the password. This guide will show you how to log into the WiFi settings of your 8x8 Matrix to change the username, password, and many other settings that you may find necessary.
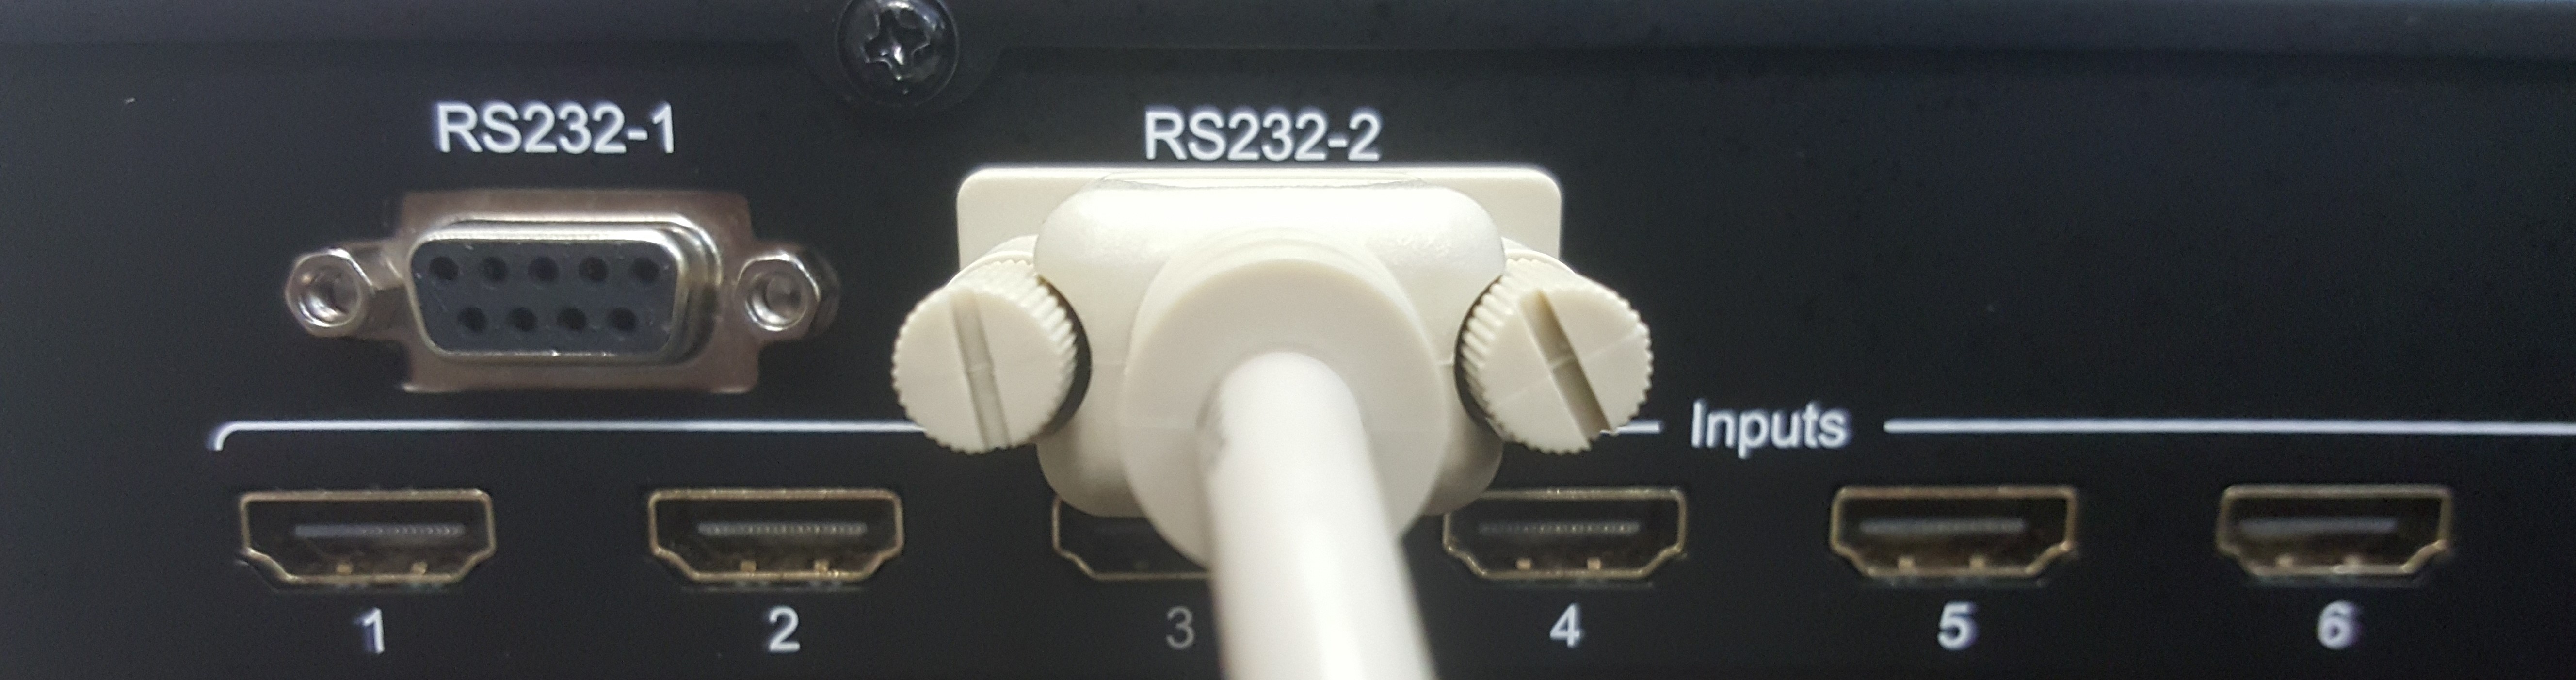
To begin, connect a RS-232 cable to the back of the J-Tech Digital ® HDMI 8X8 matrix extender.
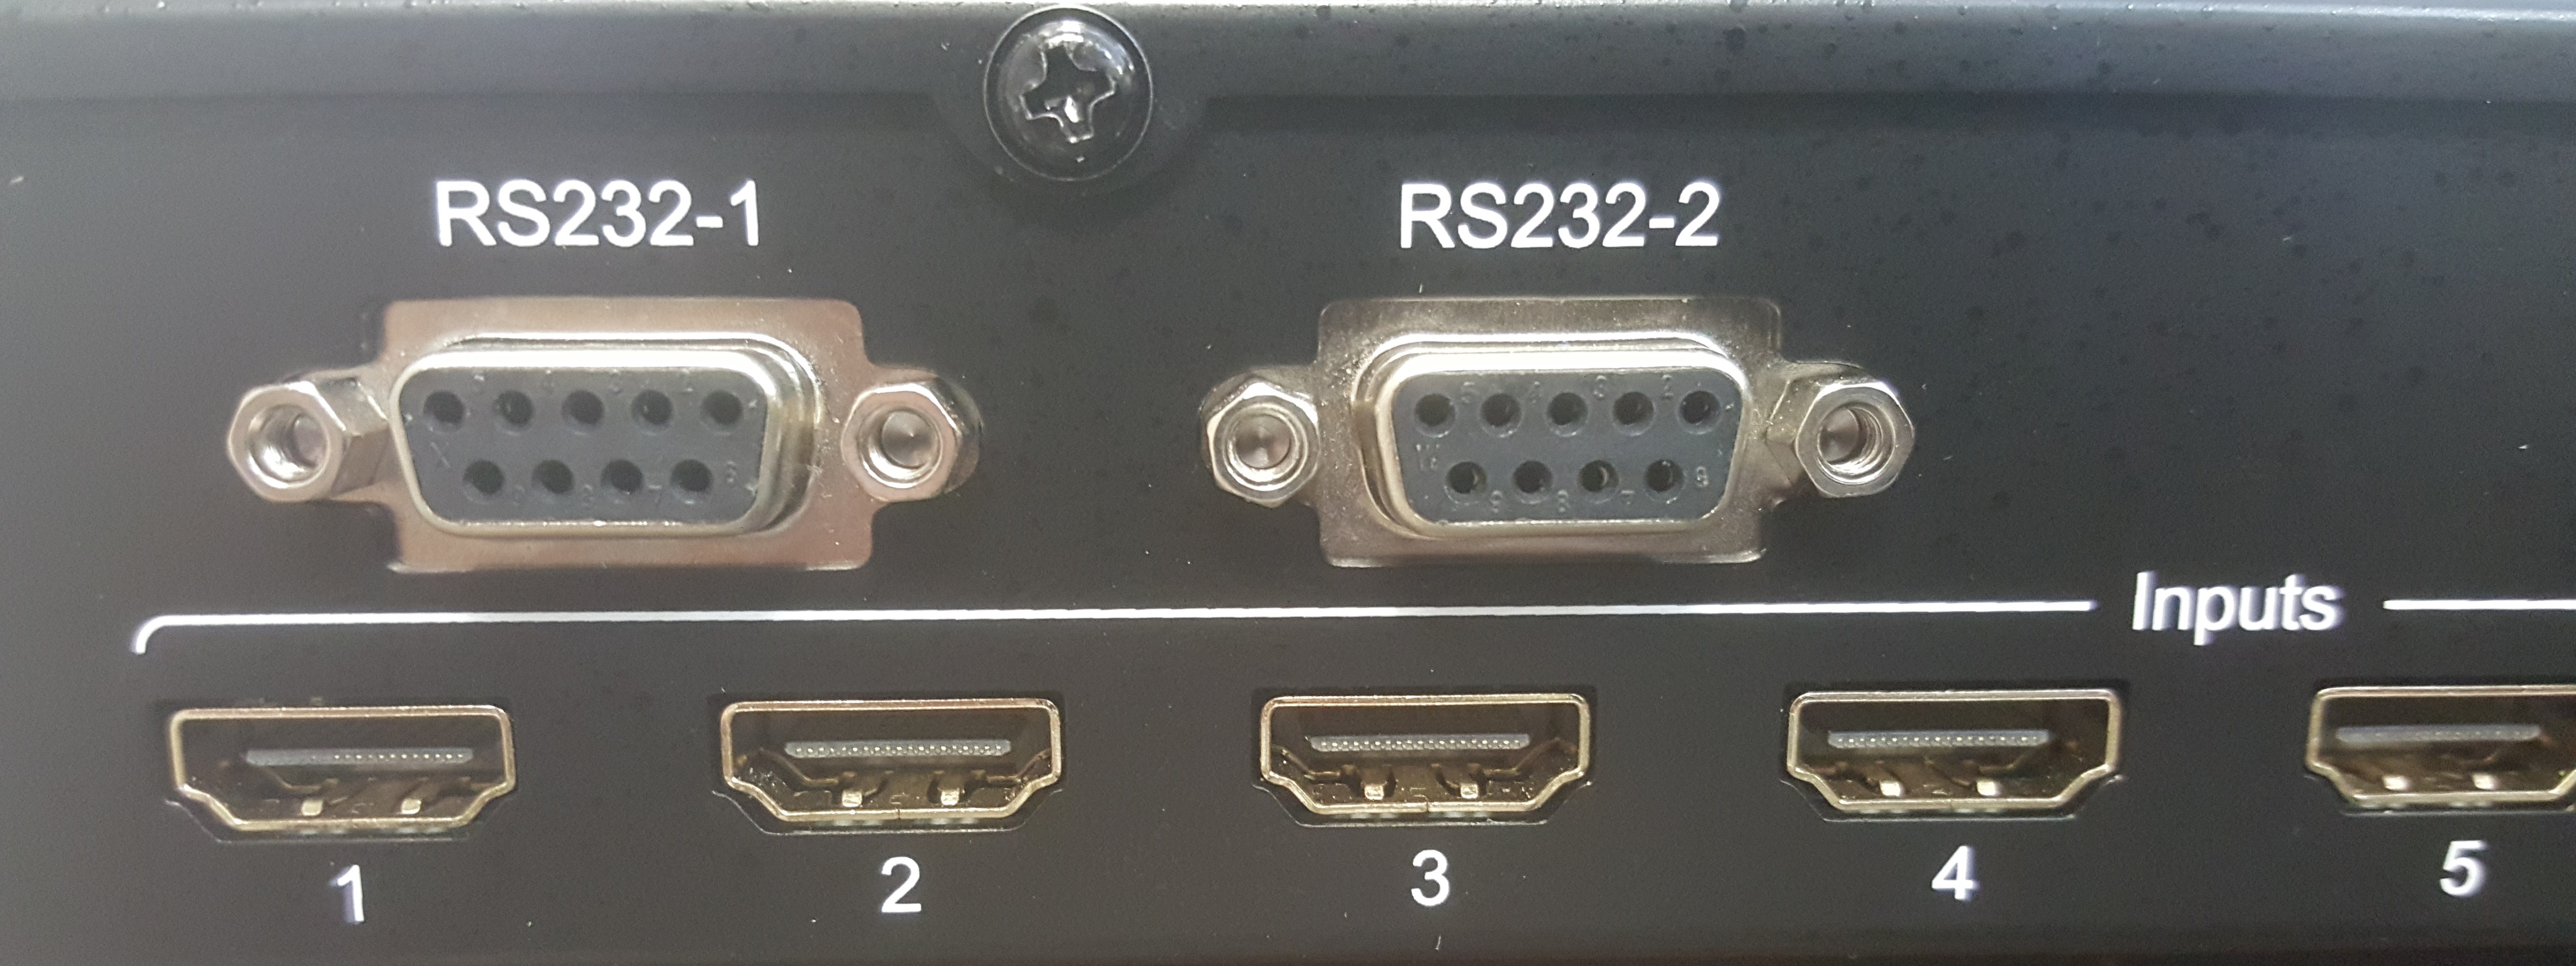
NOTE: When attempting to access the WiFi settings of the Matrix, be sure to connect the RS-232 cable to the 2nd port!
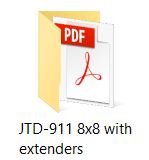
1) Access the [JTD-911 8x8 with extenders] folder. This folder is located on the disc that is included with the Matrix. If you no longer have that disc, you can also download this folder and all of its contents on our website: 8x8 Matrix
Once in this folder, click on "WIFI"

Next click on "Software"

Then click on "USR-WIFI232-Setup"

2) Once in this folder, right click on "gtk2-runtime"
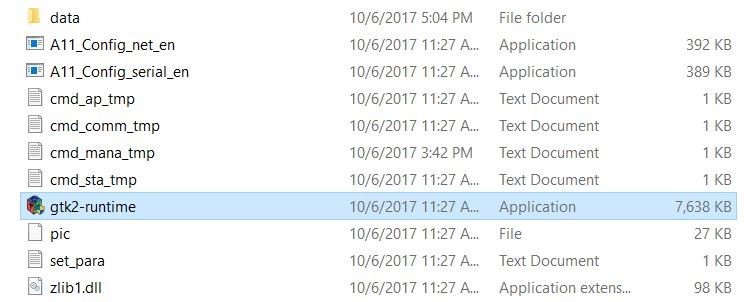
and then click "Run as administrator"
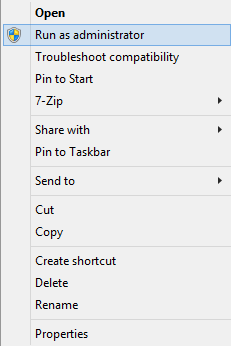
*If the [User Account Control] prompt comes up, click "yes"
Then click "Next"
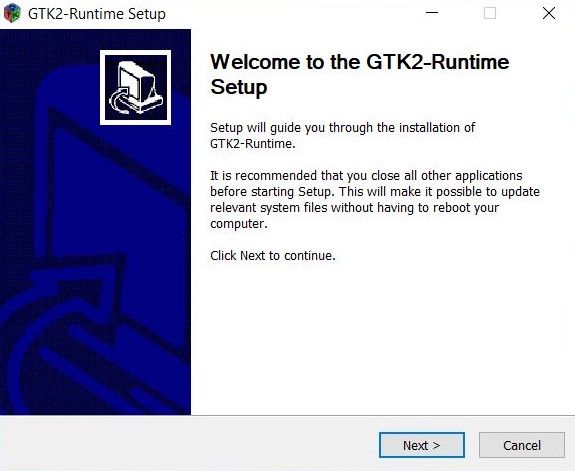
Click "I Agree"
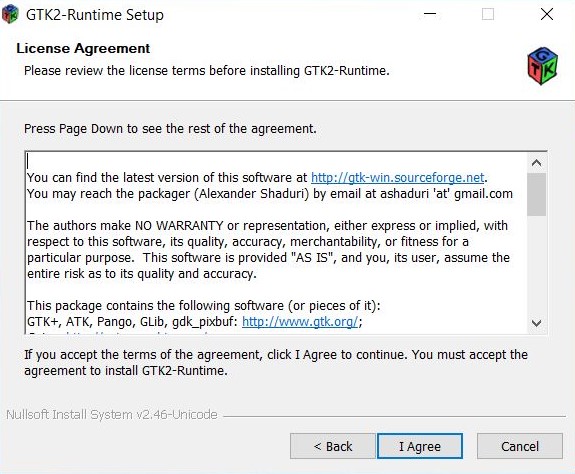
After that click "Next"
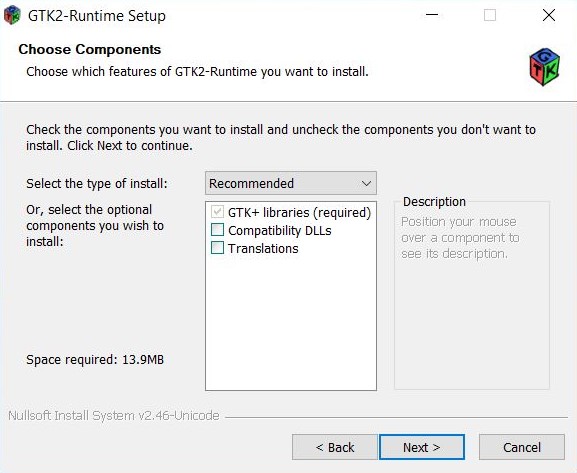
Click "Next" again
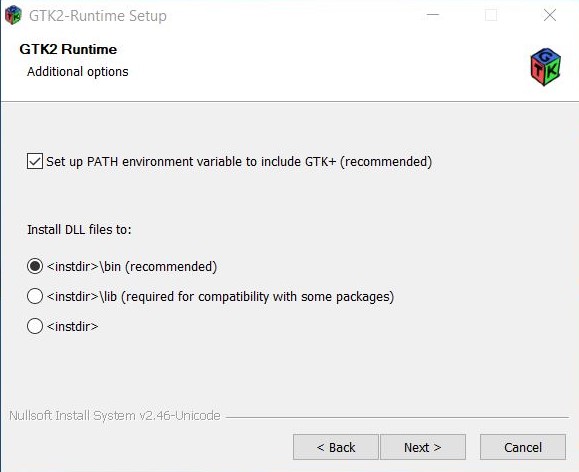
Then select "Install"
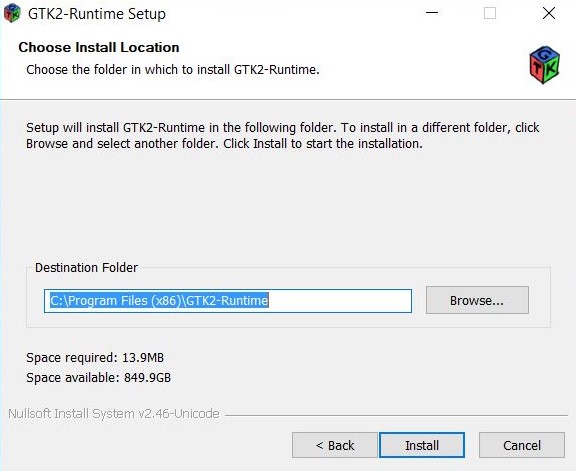
Click "Next" after
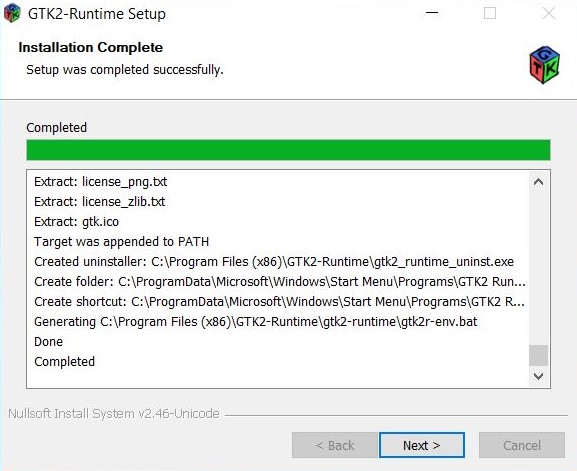
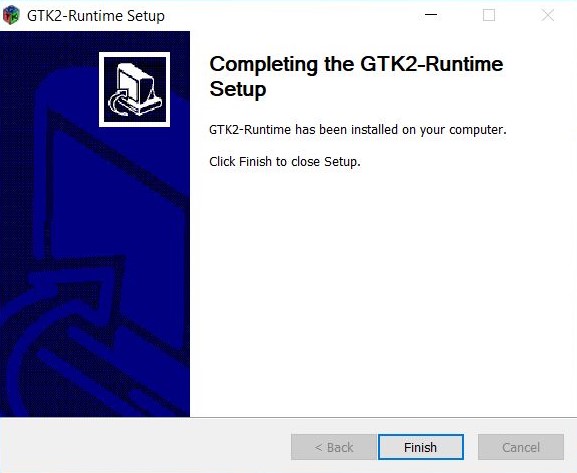
Now click "Finish"
3) Now back on the [USR-WIFI232-Setup] folder, right click on "A11_Config_serial_en"
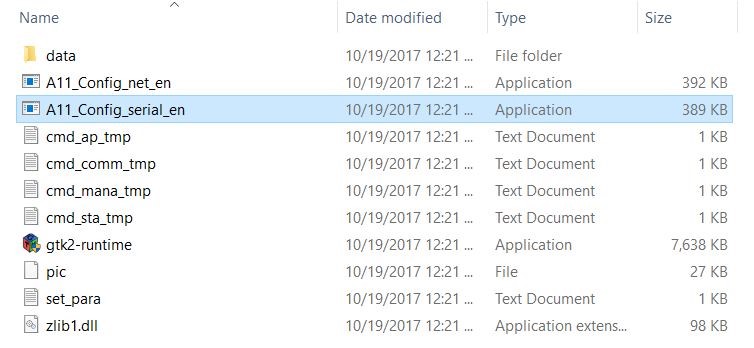
Next click on "Run as administrator"
*If the [User Account Control] prompt comes up, click "yes"
You should now see the Command prompt window
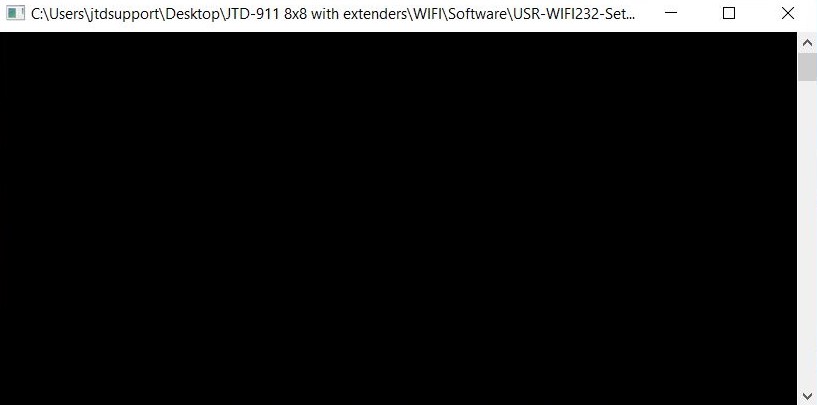
You should also see the USR-WIFI232-Setup window
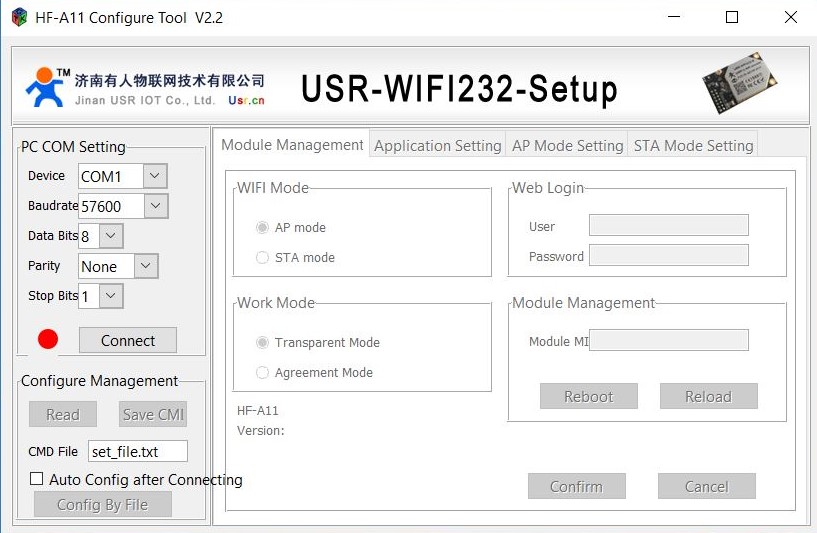
4) On the USR-WIFI232-Setup window, go to PC COM Setting located on the left side of the page
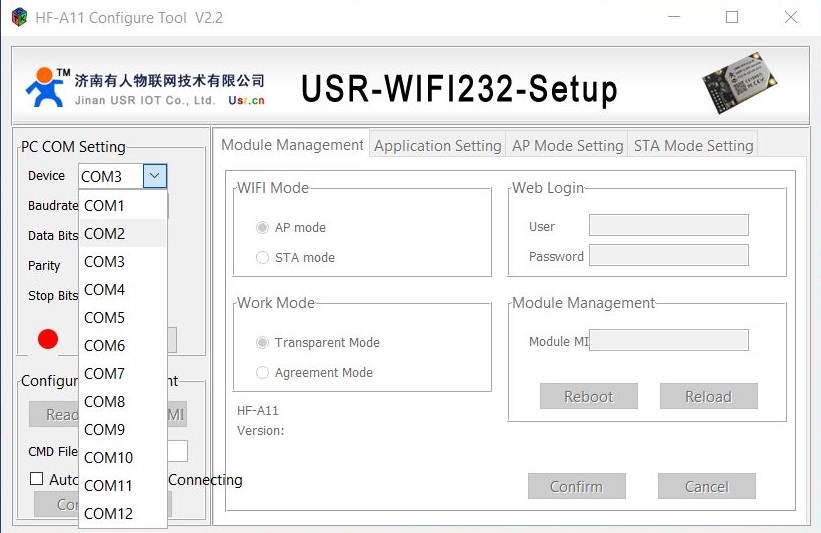
Go to Device and select the COM that you are connected to.
***If you are not sure how to find out which COM you are plugged in to, follow these next steps***
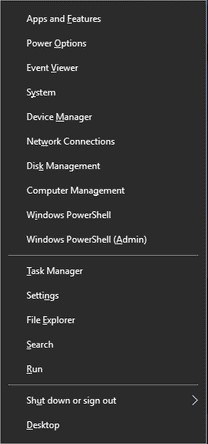
- Right click on Windows/Start button on the bottom left side of the screen
- Click on Device Manager
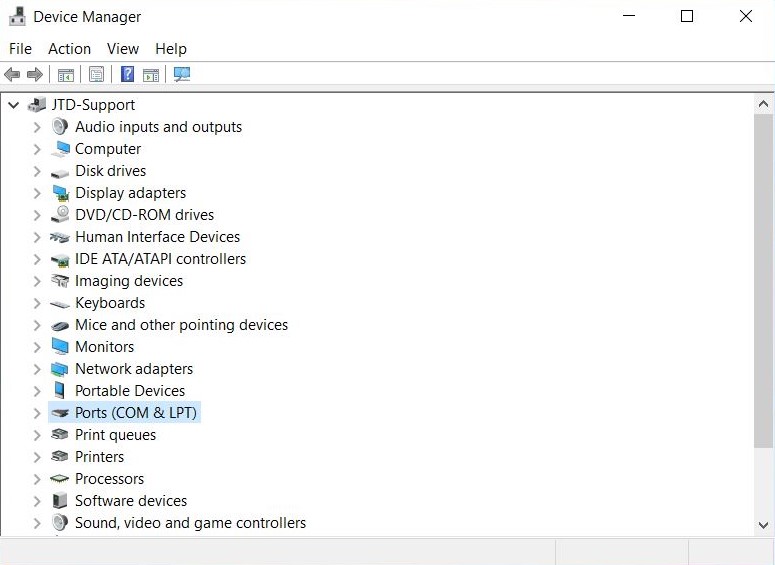
- Click on Ports (COM & LPT)
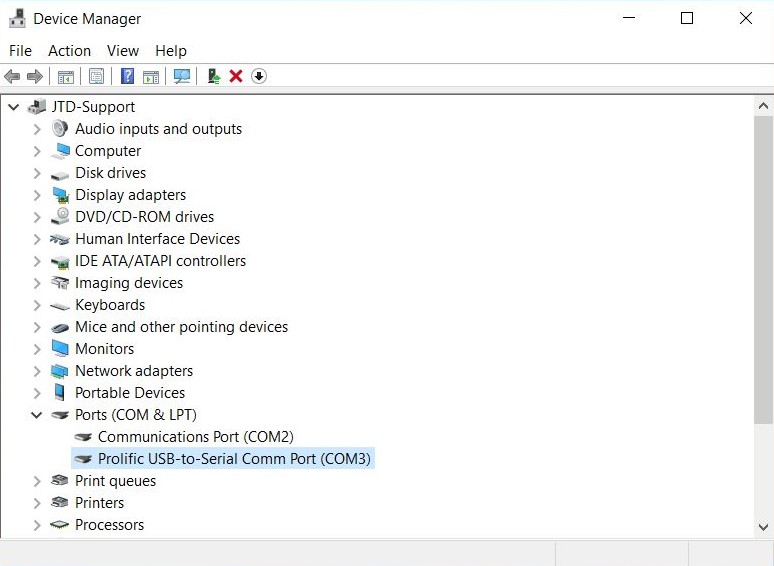
- Find the COM that you are plugged into next and then select the corresponding one
Next set the Baudrate to 9600
NOTE: If you have previously reset the WiFi settings once before, set the baudrate to 57600 instead of 9600!

Also make sure to set:
- The Data Bits to 8
- The Parity to None
- The Stop Bits to 1
Once all of your settings are correctly set, click "Connect"
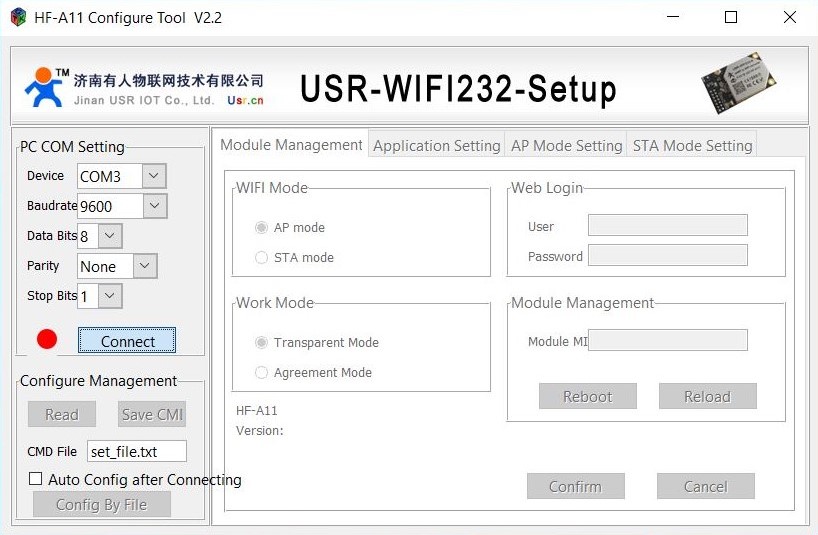
And you should see the Red dot turn Green
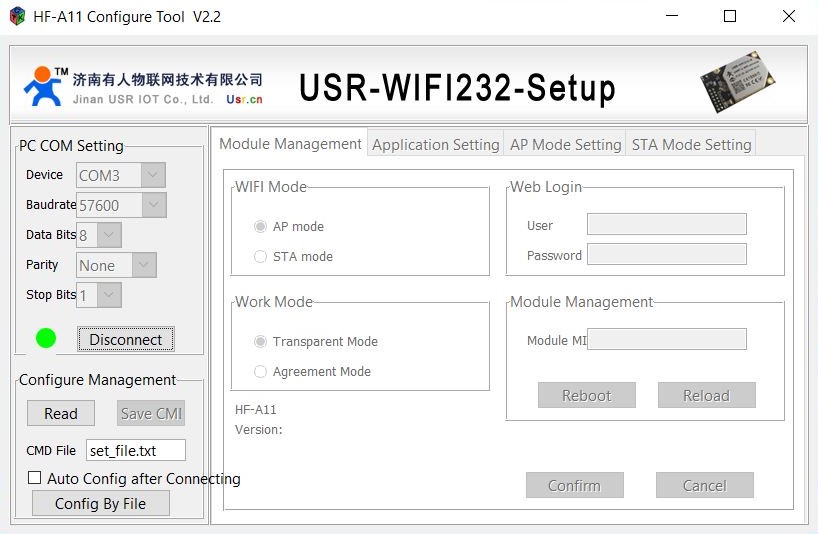
On to the final step, go to the Configure Management section and click "Read"
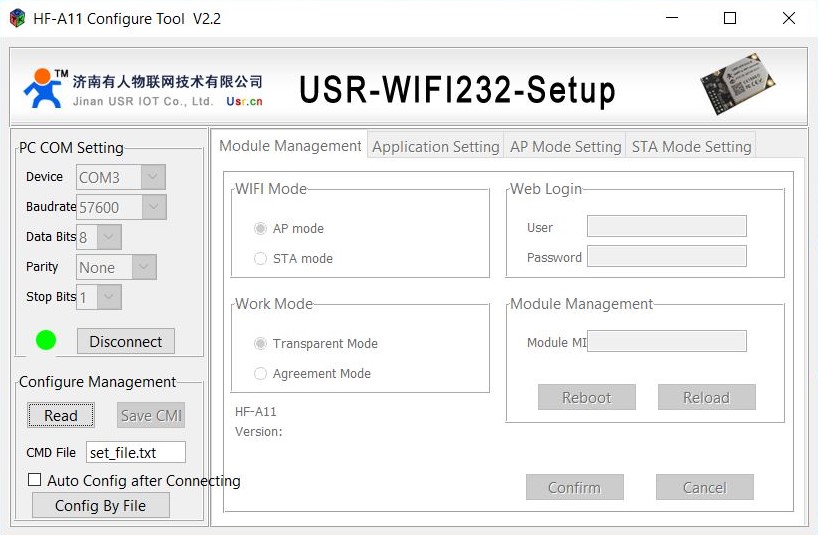
You should now be connected to the unit and able to modify the WiFi settings of your 8x8 Matrix!
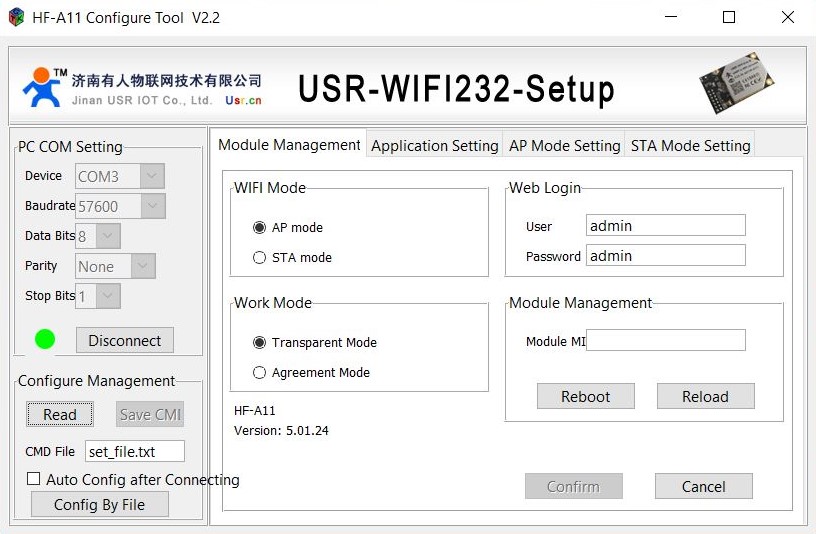
Note: After making any changes, you must click Confirm and then Reboot the 8x8, in order for the changes to take effect.
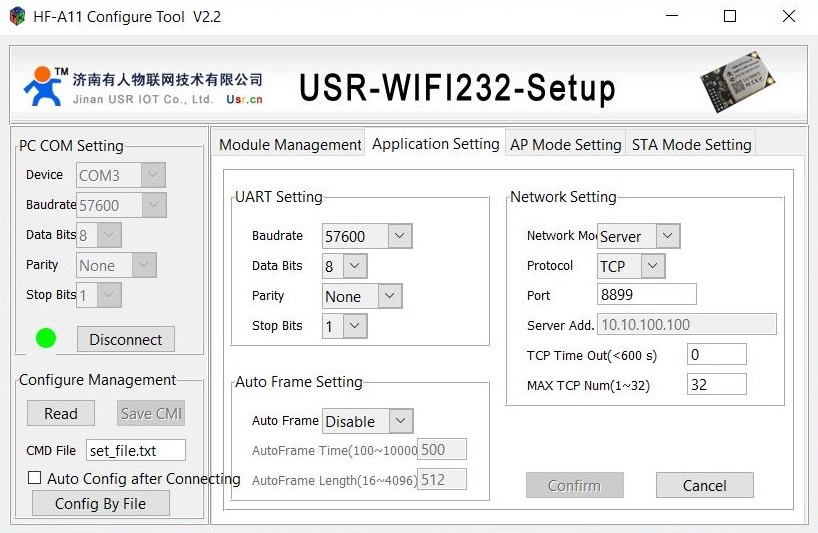
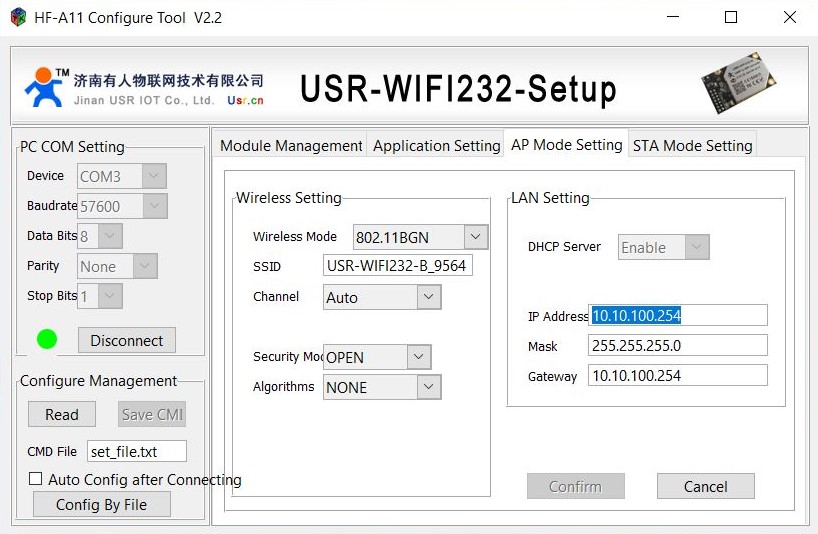
If you set the WiFi mode of the 8x8 to AP mode, you will adjust the settings in the AP Mode Setting tab. In AP mode, the 8x8 matrix will act as an access point enabling other WiFi enabled devices to connect to it. So in other words you can use the 8x8's wireless adapter to create your own wireless network.
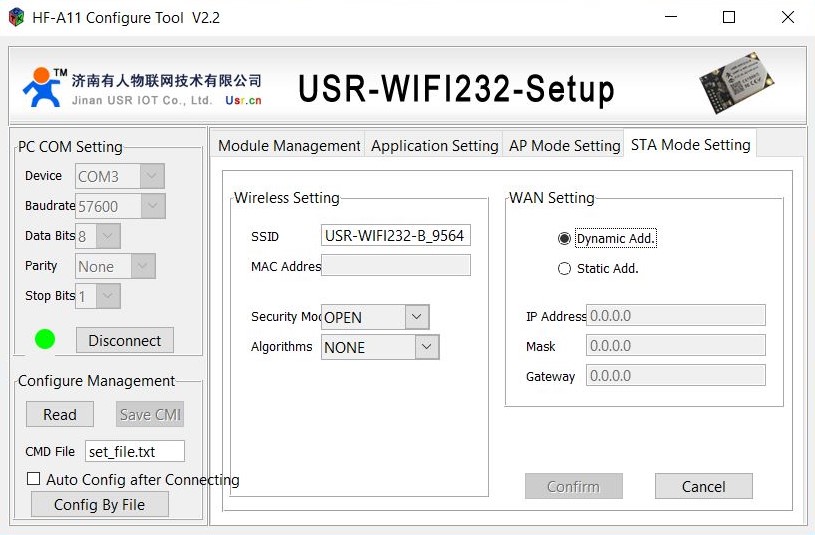
If you set the WiFi mode of the 8x8 to STA mode, you will adjust the settings in the STA Mode Setting tab. In this mode the adapter operates as a client that connects to a WiFi access point (usually a WiFi enabled router). The STA mode is used when you would like to connect the 8x8 to your home/work WiFi network.
If you have anymore questions you can contact J-Tech Digital directly to speak with a Tech Support agent. You may reach us at:
Tel: 832-886-4042
Email: support@jtechdigital.com
Comments
0 comments
Please sign in to leave a comment.