
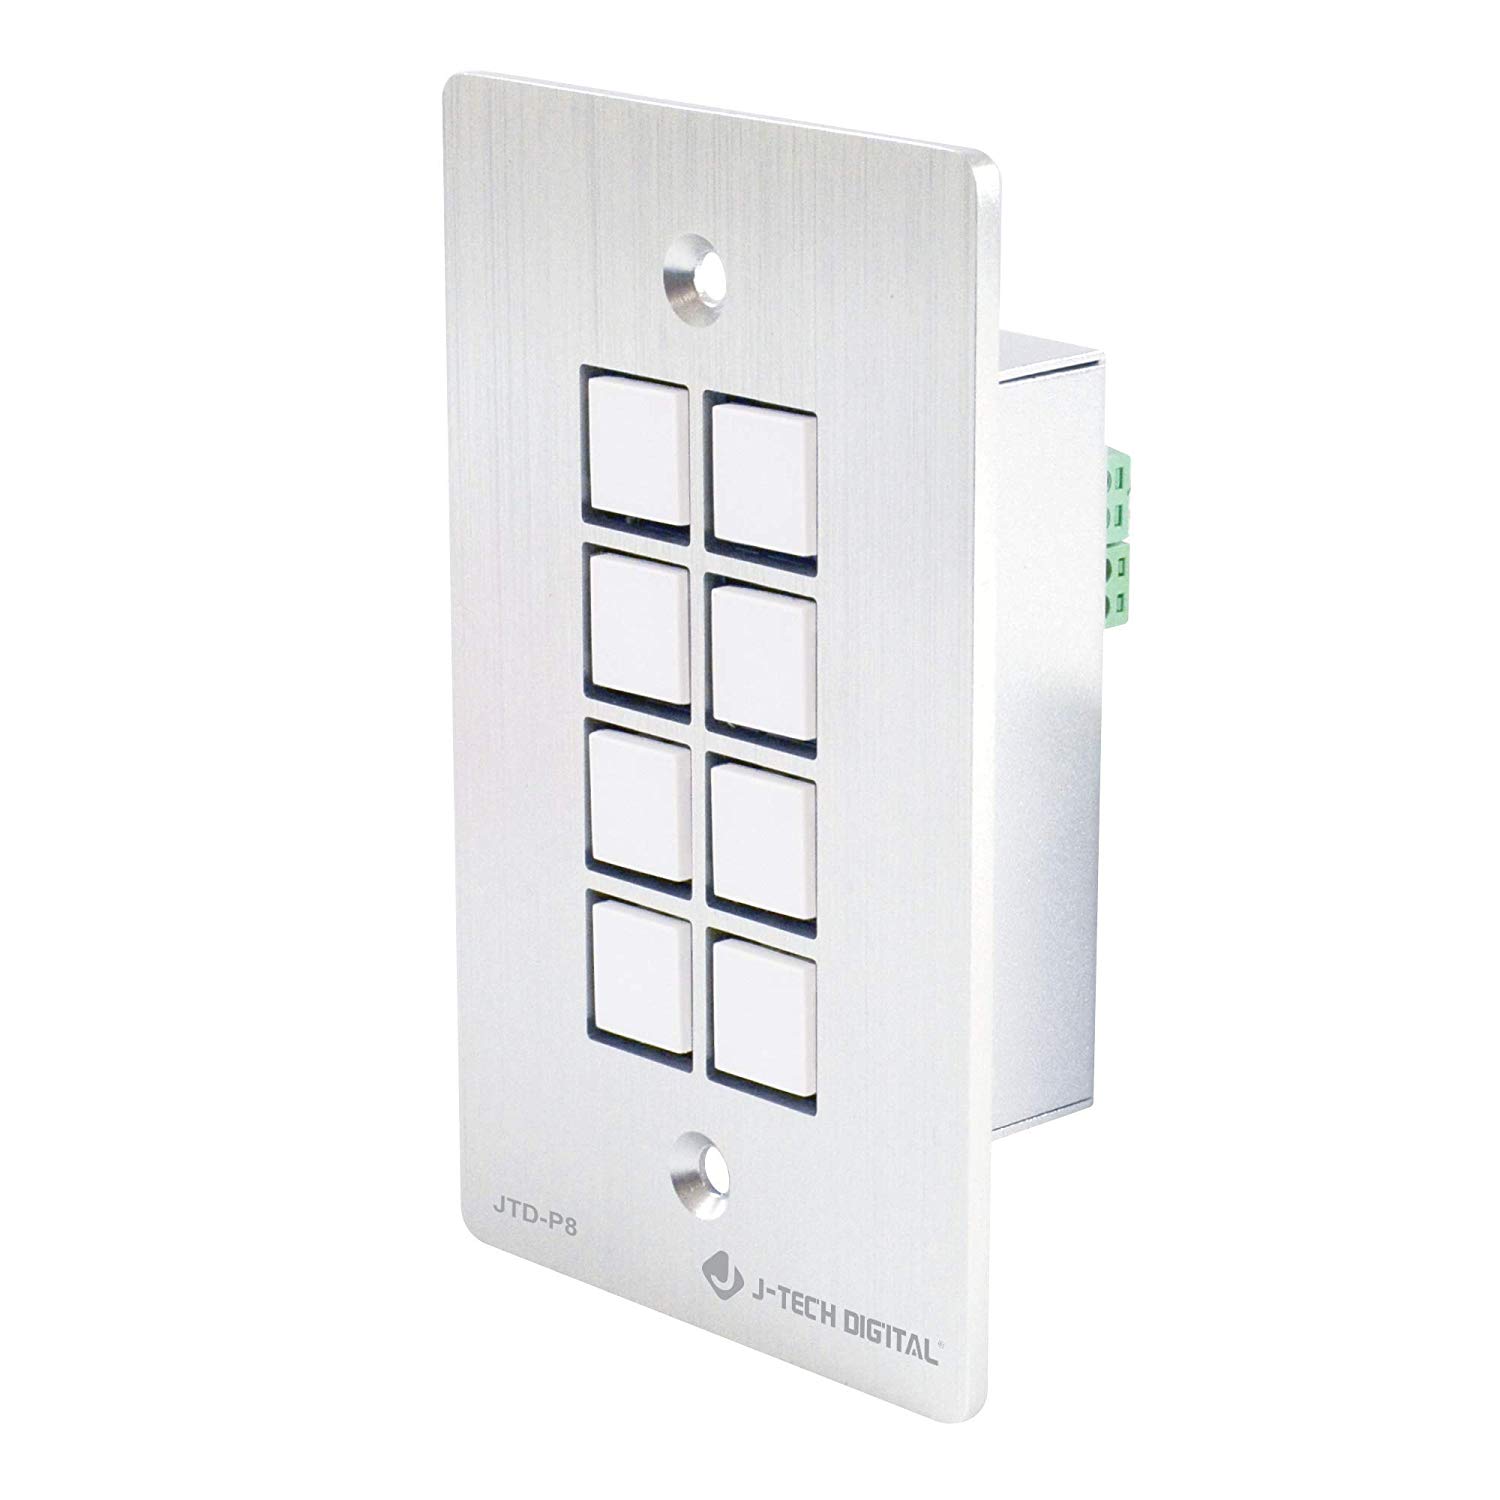
8-Button Control Panel Wall Plate
1.Overview
JTD-P8 is a Multi-Functional control panel. It provides customizable RS232, RS458, Rely and IR control commands. Here are the instructions for you to load a finished driver to this device.
2.Requirements
2.1 Download the newest control configuration app from www.jtechdigital.com.
The main executive file named as JTD-Control-VXXX.exe
2.2 Download the JTD-P8 driver files for the product you want to control.
Normally the compressed file will include:
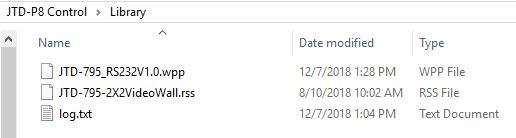
JTD-XXX.rss : This is the rs232 command library. Including all the rs232 commands you can to assign to the buttons on JTD-P8. You can use this library to design your own button layout.
JTD-XXX.wpp: This is the pre-configured mapping for the rs232 command and the buttons on the JTD-P8. You only need to load this file to JTD-P8, then you are ready to control the device.
Unzip the driver file and copy all files into the ‘Library’ folder under the JTD-Control application.
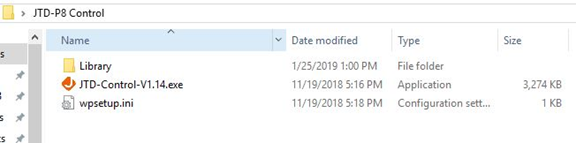
Make sure your Library folder has the XXX.wpp file. For this quick start guide we used our 2X2 video wall controller (JTD-795) as an example.
3.Process
3.1 Connect power for the JTD-P8. Connect the JTD-P8 to your computer via Mini-USB.
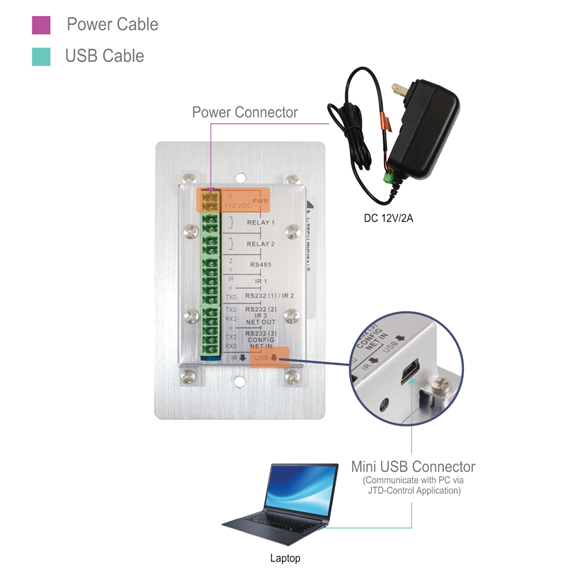
3.2 Double click “JTD-Control-XXX.exe”
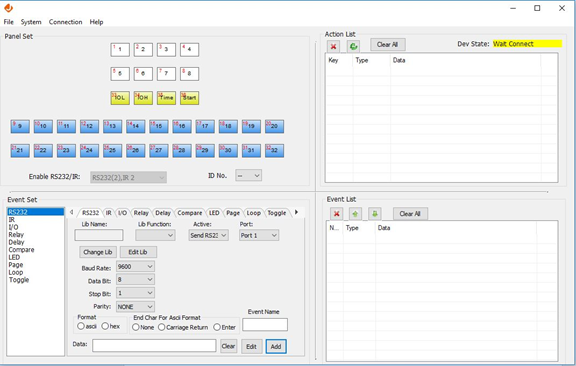
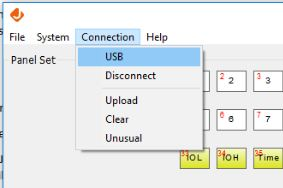
3.3 Click the “Connection” menu, then select “USB”. If everything is right, you should see a “Connect SUCCESS” message in the top right corner.
3.4 Next, click “File”, select “Open”, navigate to the Library folder and select “JTD-795_RS232V1.0.wpp”
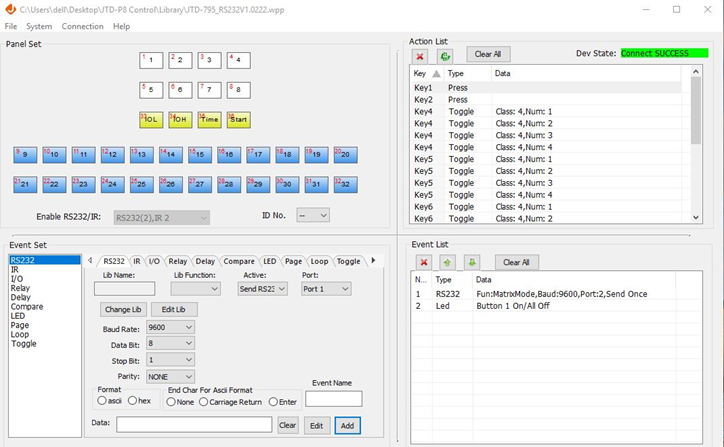
On the “Action List” section you will see all the command and actions are set up. The only thing you need to do is load this configuration to the JTD-P8. You also can modify the set up on the “Event Set” section to your preference.
3.5 Click “Connection”, select “upload” then click “OK” to Clear all data stored in the JTD-P8.
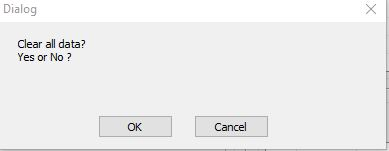
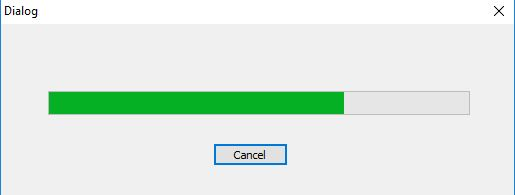
Wait about 30 seconds until you see the green progress bar disappear.
3.6 Click “Connection” then select “Disconnect”. Next, unplug the USB cable from your computer.
Now power circle the JTD-P8.
3.7 Connect RS232 Port 2 (Port selection will depend on the driver setup) to the 2X2 Videowall (JTD-795)
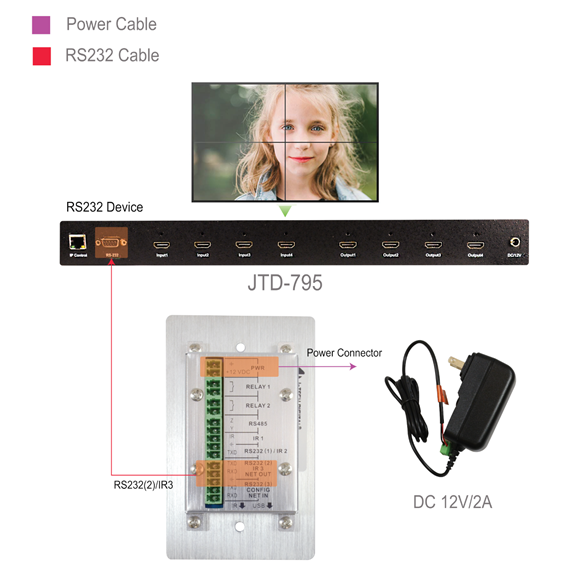
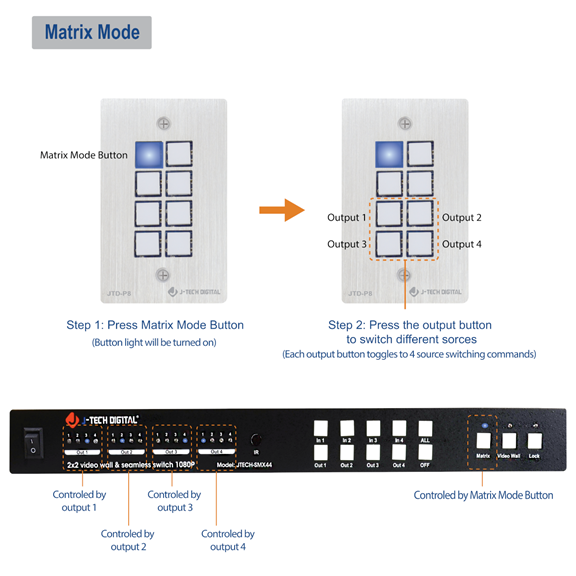
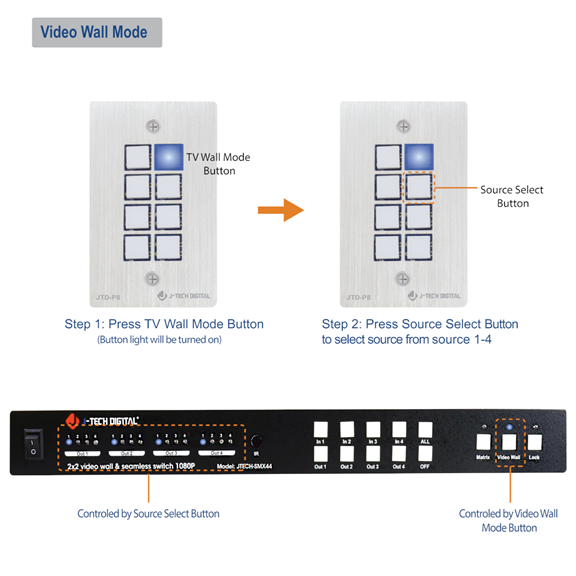
3.8 You are now ready to control the video wall with the JTD-P8 Control Panel.
Comments
0 comments
Please sign in to leave a comment.