
One feature that our J-Tech Digital ProAV Network Switch has to offer is the ability to save and recall presets through the web GUI. This guide will show you just how to use them.
*If you already know how to log into the Network Switch, you can skip to Step 4*
1) Connect the power cable to the Network Switch
2) Connect an ethernet cable to port 23 or 24 then connect to an ethernet port on your computer
3) Right Click on your Network Icon

- Click "Open Network and Sharing Center"
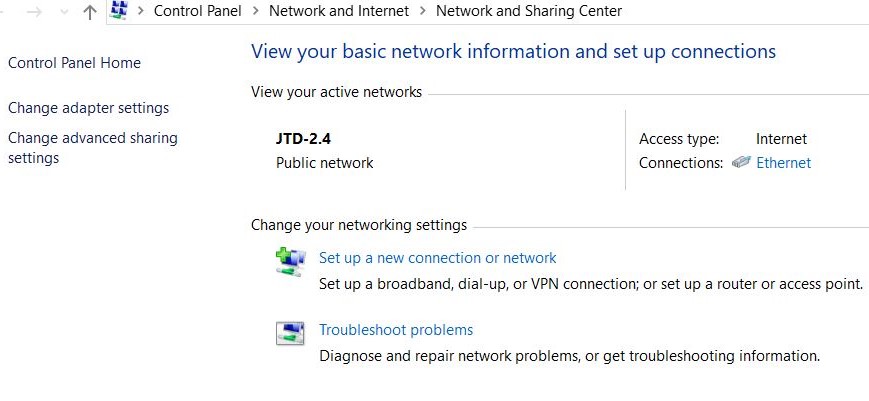
- Click "Change Adapter Settings"
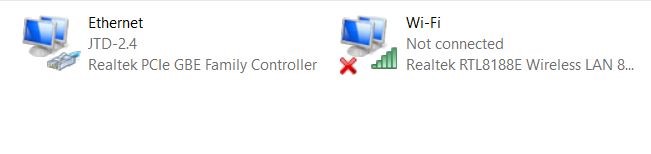
- Double click the Ethernet Connection
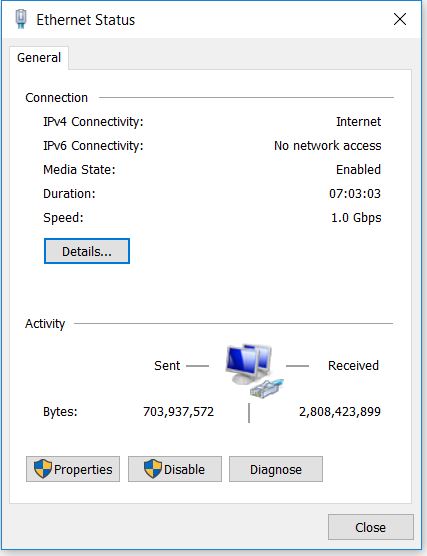
- Click "Properties"
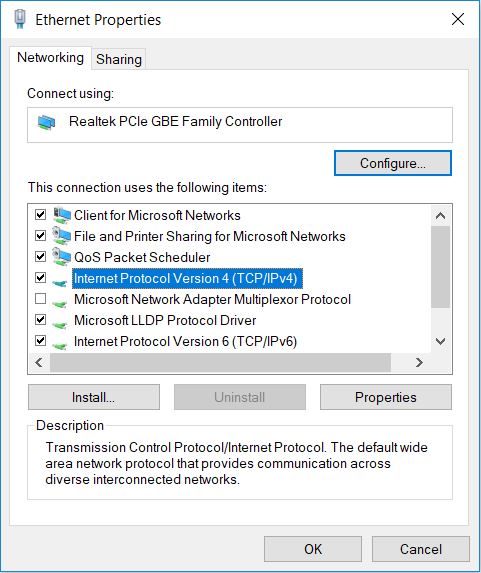
4) Click "Internet Protocol Version 4 (TCP/IPV4)"
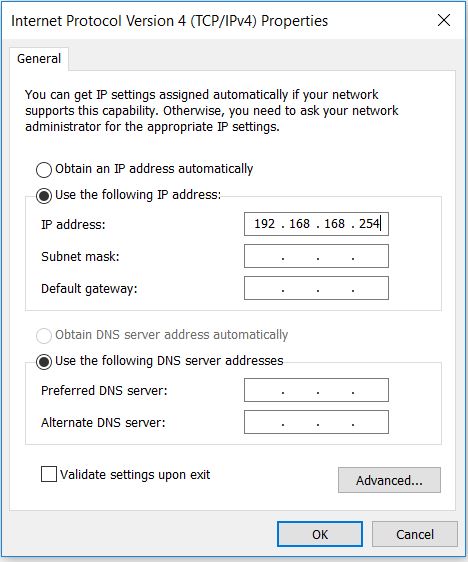
5) Change your IP address to match that of the Network Switch (192.168.168.254)

- Enter username: admin
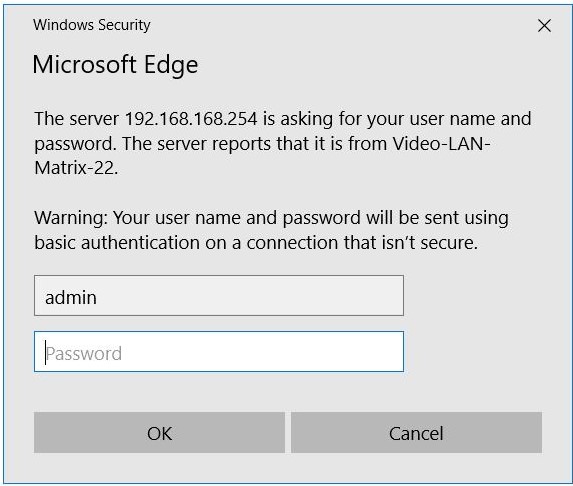
- Enter password: admin
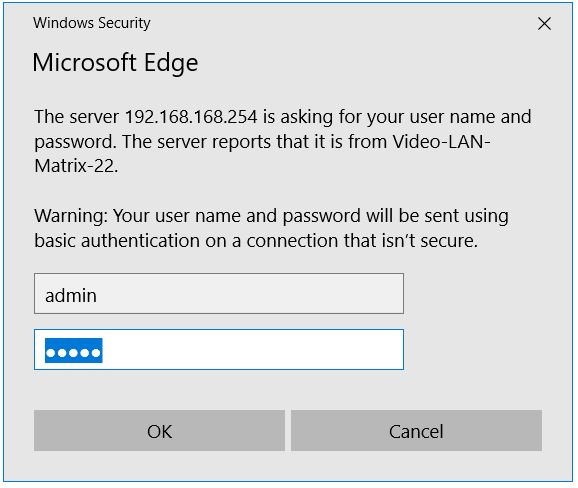
After entering the password you should have successfully logged into the interface!
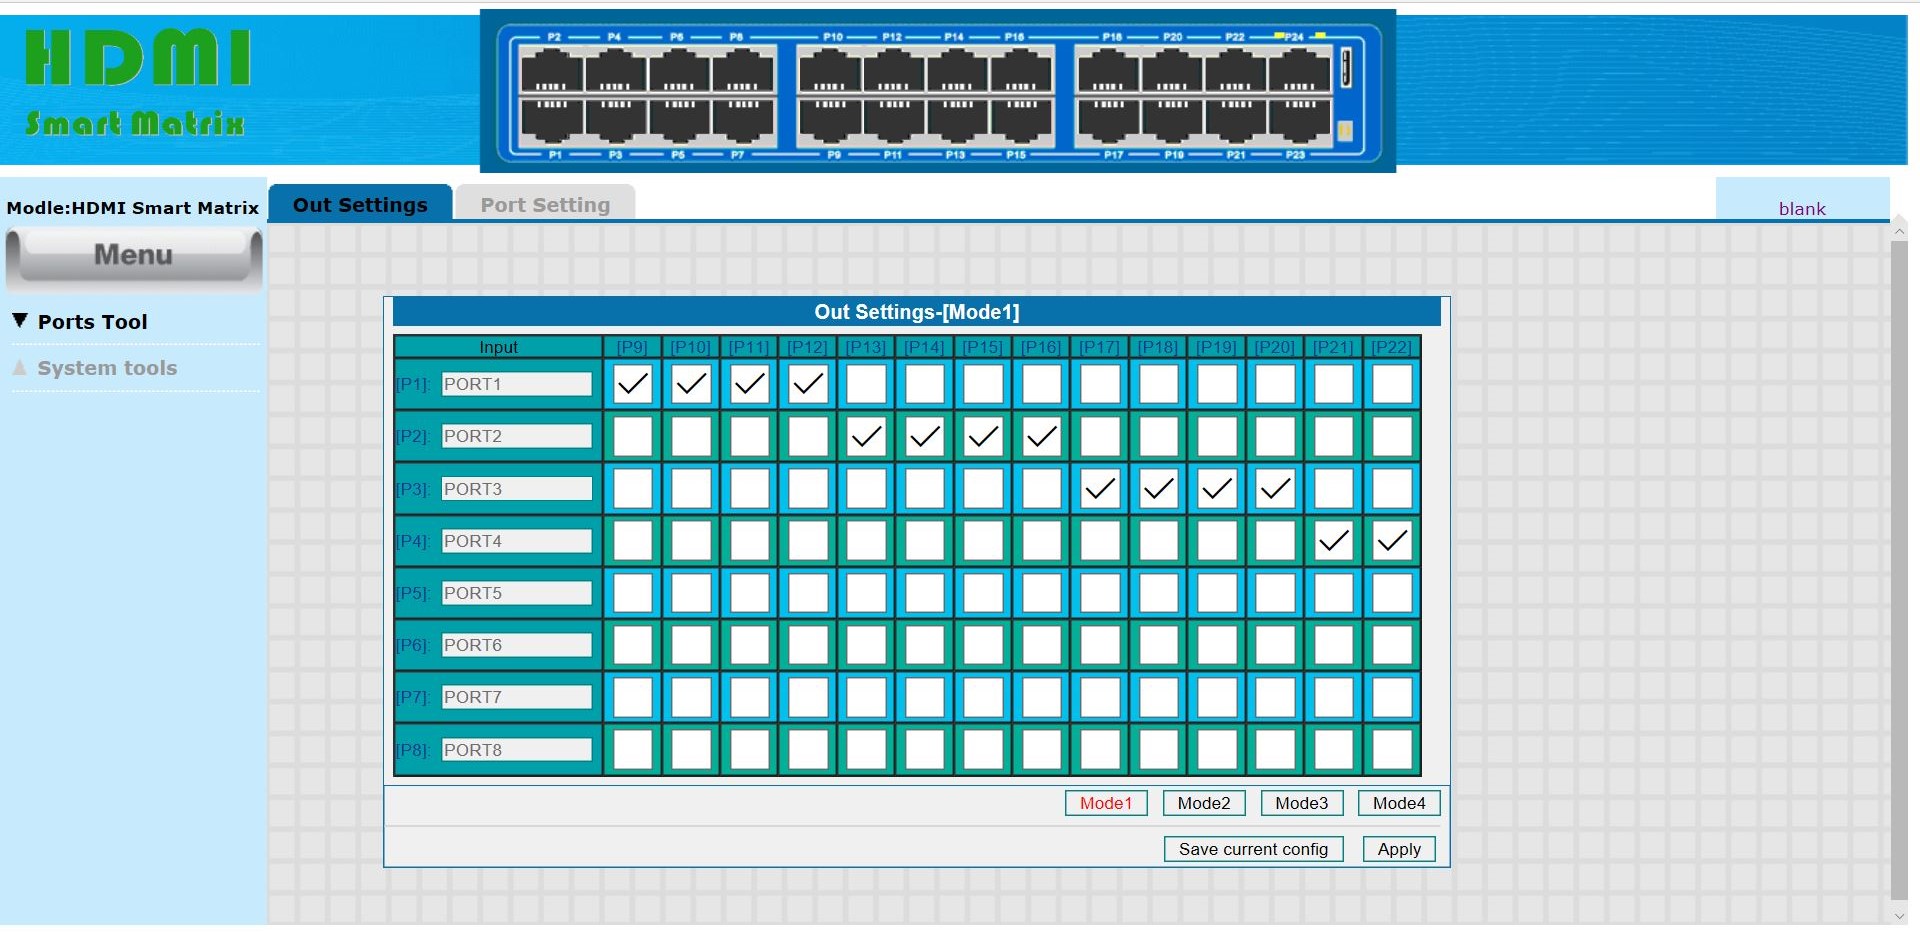
4) Now Select a Mode (In the picture Mode 1 is selected with the default I/O settings)
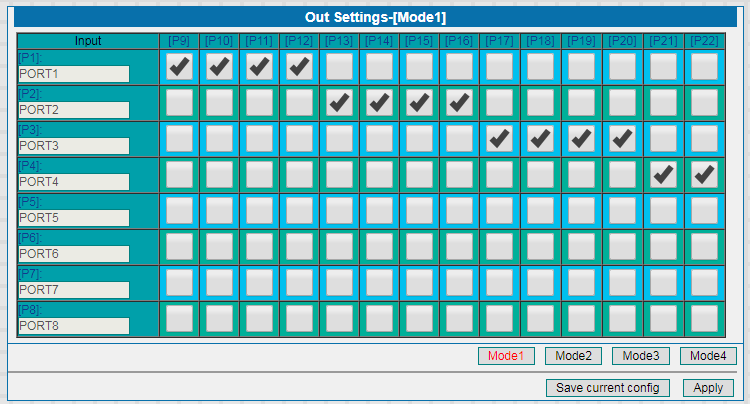
- Now set your configuration to however you prefer
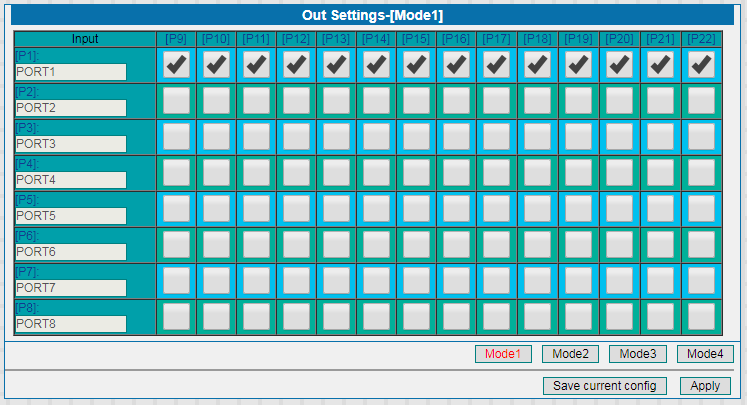
- After you are satisfied with the changes that you have made, click Save current config on the bottom right of the GUI
5) To ensure that your Mode settings have been saved, simply click on a different mode, and then switch back to the mode where you made your changes
- Mode 2 has now been selected
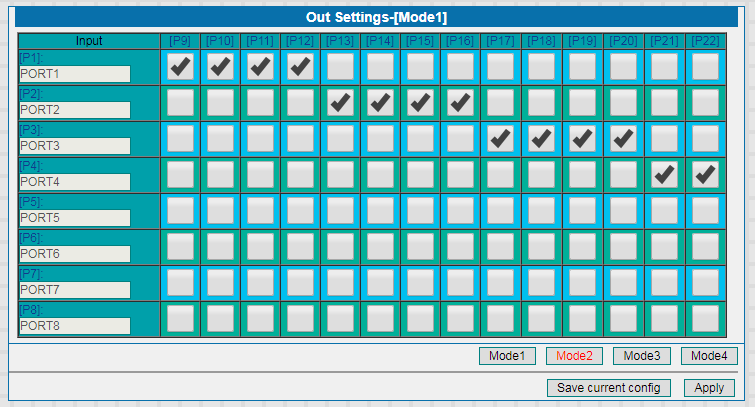
- And when switching back to Mode 1, the settings should revert back to the saved configuration
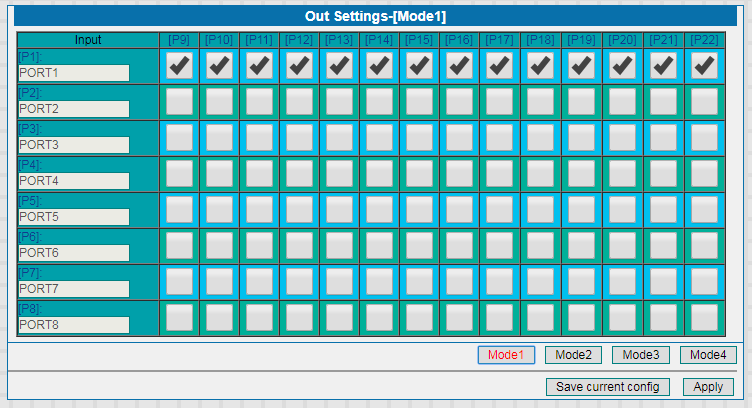
Now you have all the information needed to save presets on your Network Switch!
Comments
0 comments
Please sign in to leave a comment.