
Connecting the Power and Ethernet cable
1) Connect the power cable to the Network Switch
2) Connect an ethernet cable to port 23 or 24 then connect to an ethernet port on your computer
Connecting to the Network Switch Interface
3) Right Click on your Network Icon

- Click "Open Network and Sharing Center"
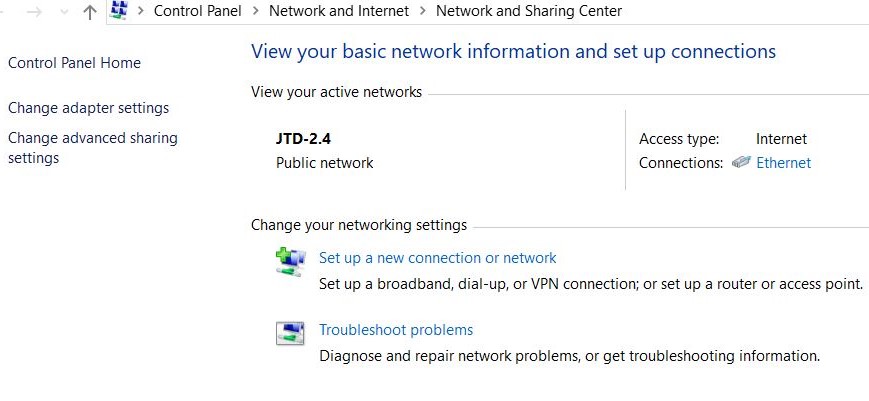
- Click "Change Adapter Settings"
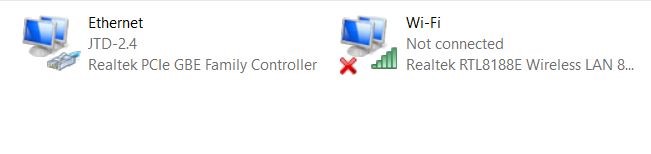
- Double click the Ethernet Connection
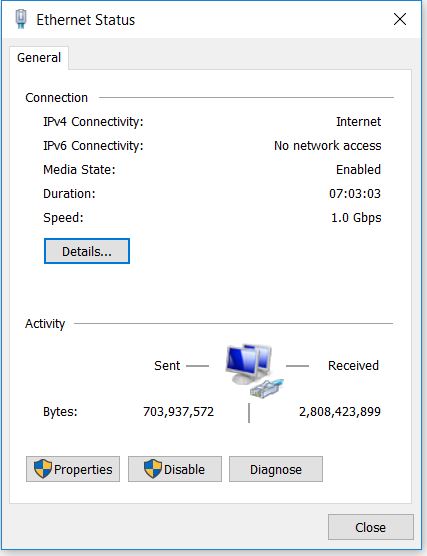
- Click "Properties"
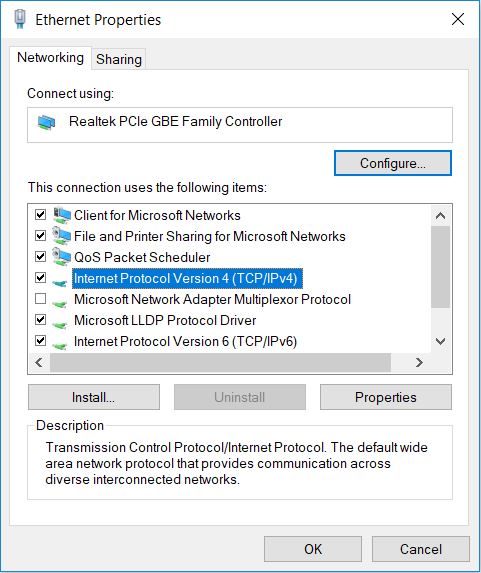
4) Click "Internet Protocol Version 4 (TCP/IPV4)"
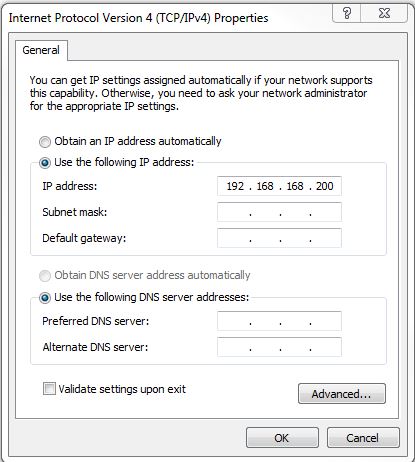
5) Select "Use the Following IP Address" Set your IP address to match the same scheme as the default IP address of the network switch (192.168.168.XXX)
6) Open a web browser (Google Chrome/Mozilla Firefox/Safari/Internet Explorer/Edge) and type the default IP address of the network switch in the address bar: 192.168.168.254 and hit enter.

- Enter username: admin
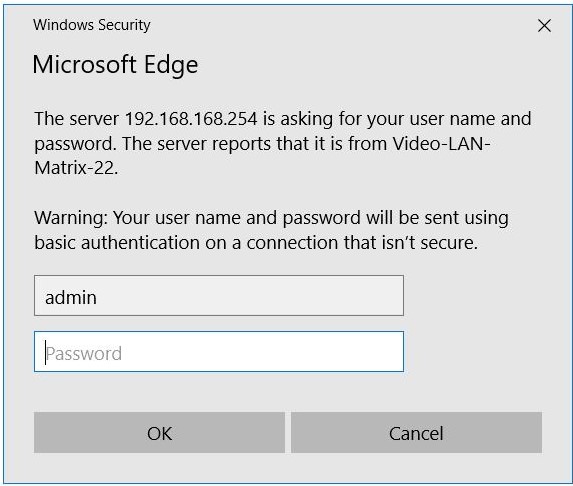
- Enter password: admin
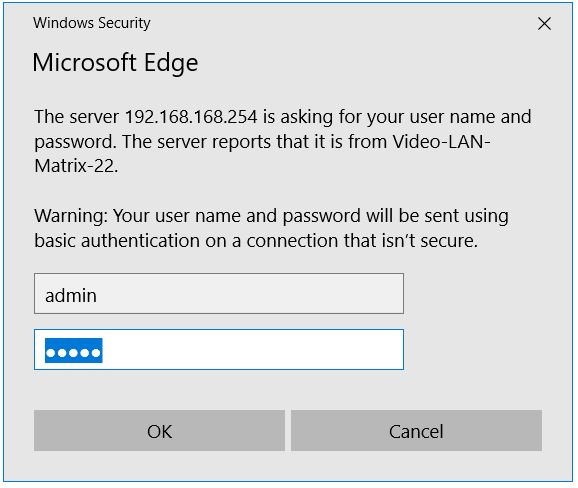
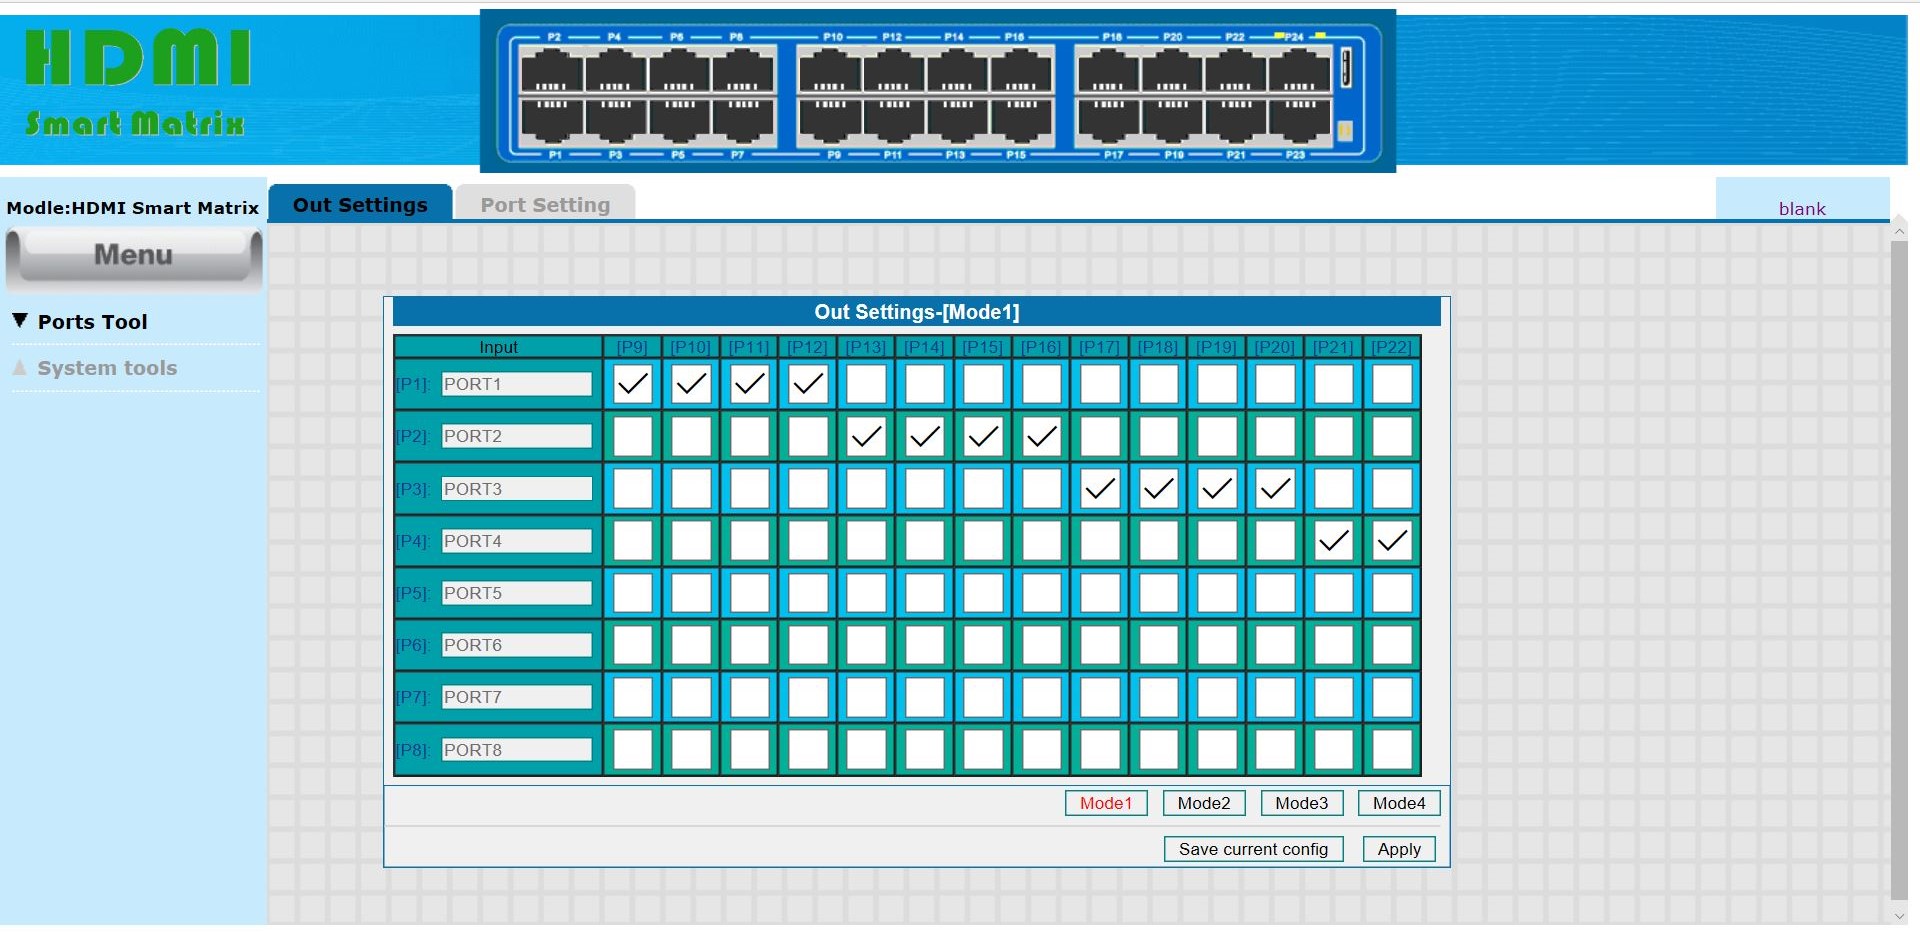
After entering the password you should have successfully logged into the interface!
_______________________________________________________________________________________
You may need to reset your Network Switch for one of the following reasons:
- You come across an error after attempting to connect to the interface
- You forgot the login password for the Network Switch
- You forget the IP address of the Network Switch
Resetting the Network Switch
1) Unplug the power from the Switch, hold down the reset button, then plug in the power cord, while still holding down the rest button. Keep the reset button pressed until all of the lights on the Switch turn off
2) Refresh the webpage of the interface
*We recommend checking the software version of the Network Switch to verify that it is up to date*
In order to check what version software your Network Switch has follow these steps:
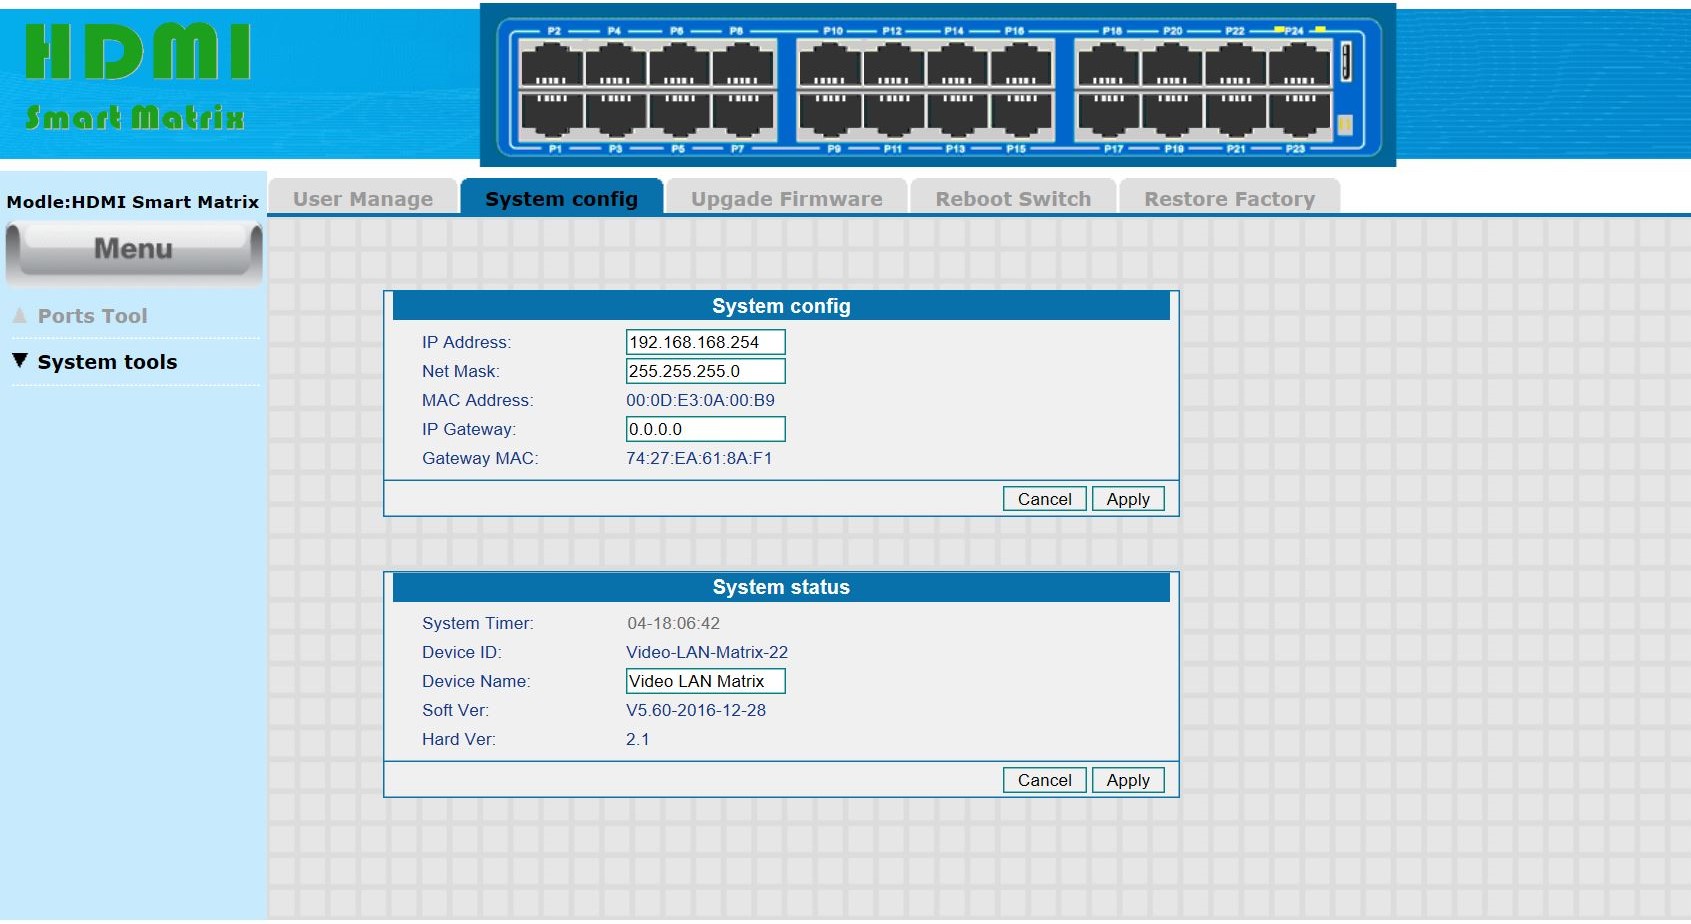
- Click on "System Tools" located on the left side of the page
- Click on "System config" which is the 2nd tab on the top of the page
- Check the lower box labeled "System status" and make sure the Soft Ver is as follows:
- V560-2016-12-28
Comments
0 comments
Please sign in to leave a comment.